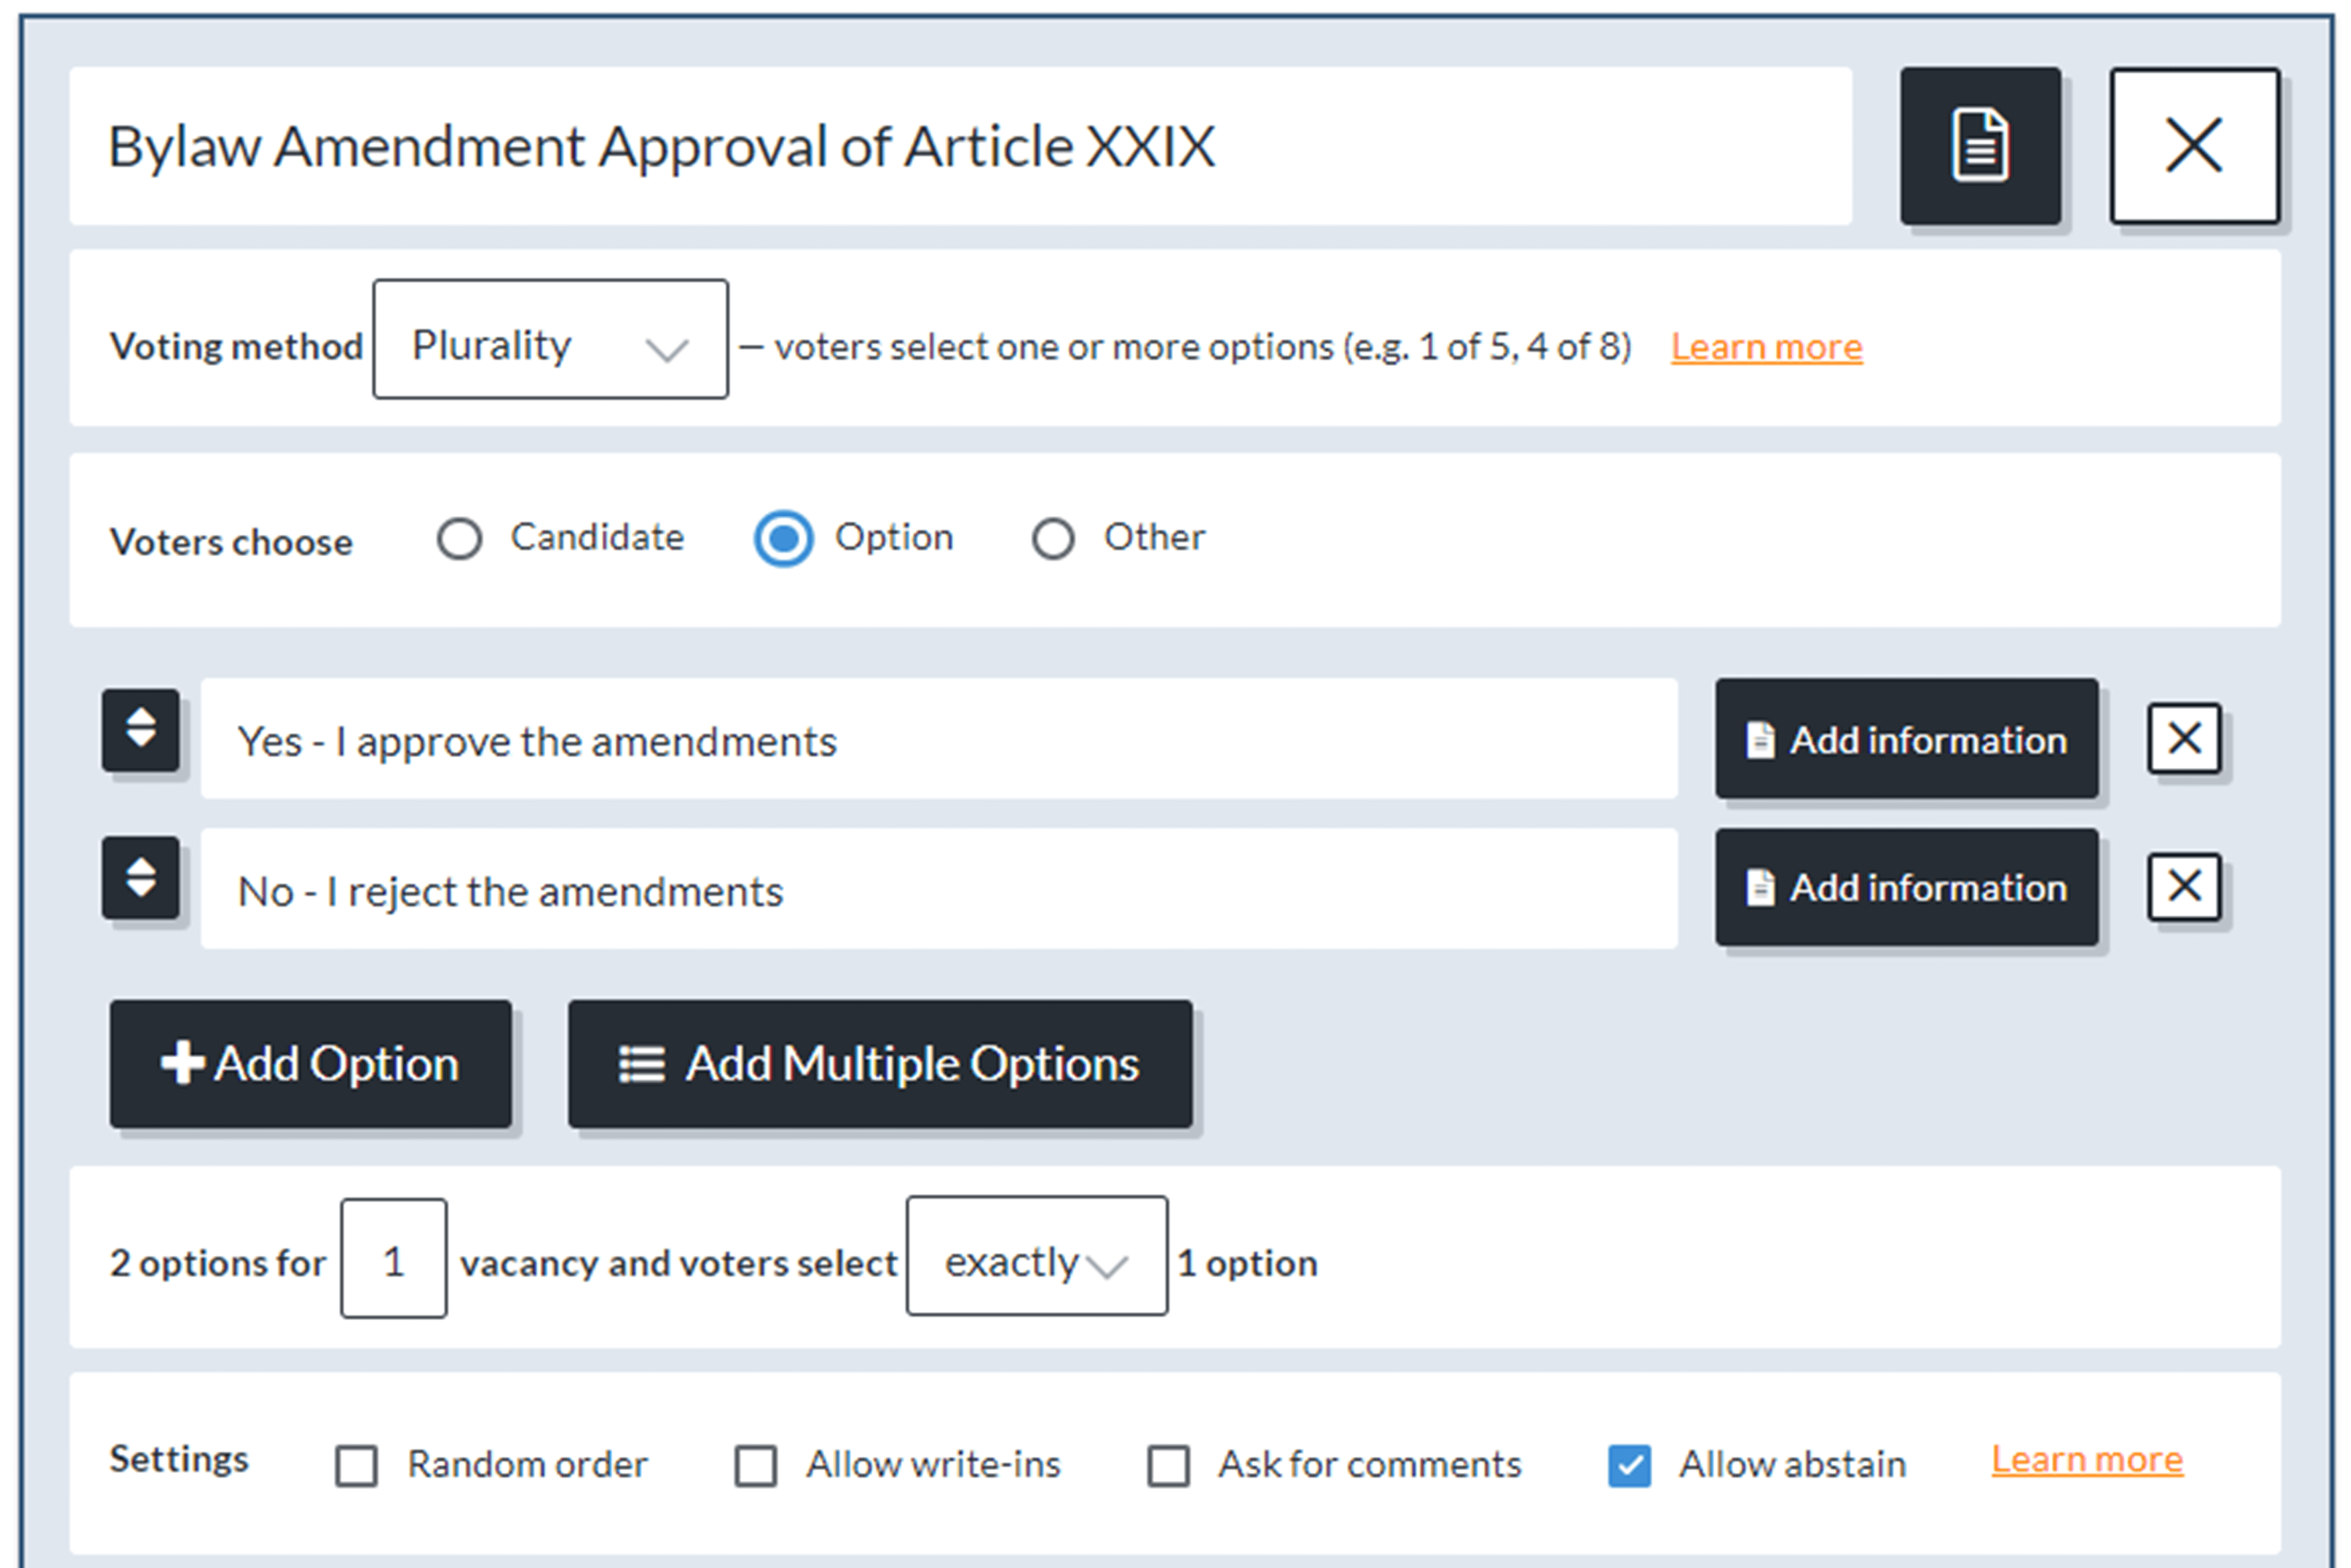
Screenshot of ElectionBuddy Setup Process – Step 1: add details, design ballot, add voters.

Step 1: Prepare the meeting

Create your registration process

Include your meeting details, organization branding, dates, and notice methods

Add your voter list and notices

Add voter lists from Microsoft Excel or other systems and send meeting notice by email, SMS, postcard, or letter

Design your meeting votes

Wizards allow you to add agenda items, positions, bylaws or approvals requiring meeting votes. Include documents and candidates with photos and bios too!
 

Step 2: Start the meeting

Voters register and test

Voters access the meeting using their personalized notice with meeting credentials. Start the meeting by running test votes so attendees feel comfortable

Open motions for voting

Attendees vote, verify choices and receive confirmation. Repeat the process for every vote in the meeting. Even amend votes in a few clicks!

Share results virtually or onsite

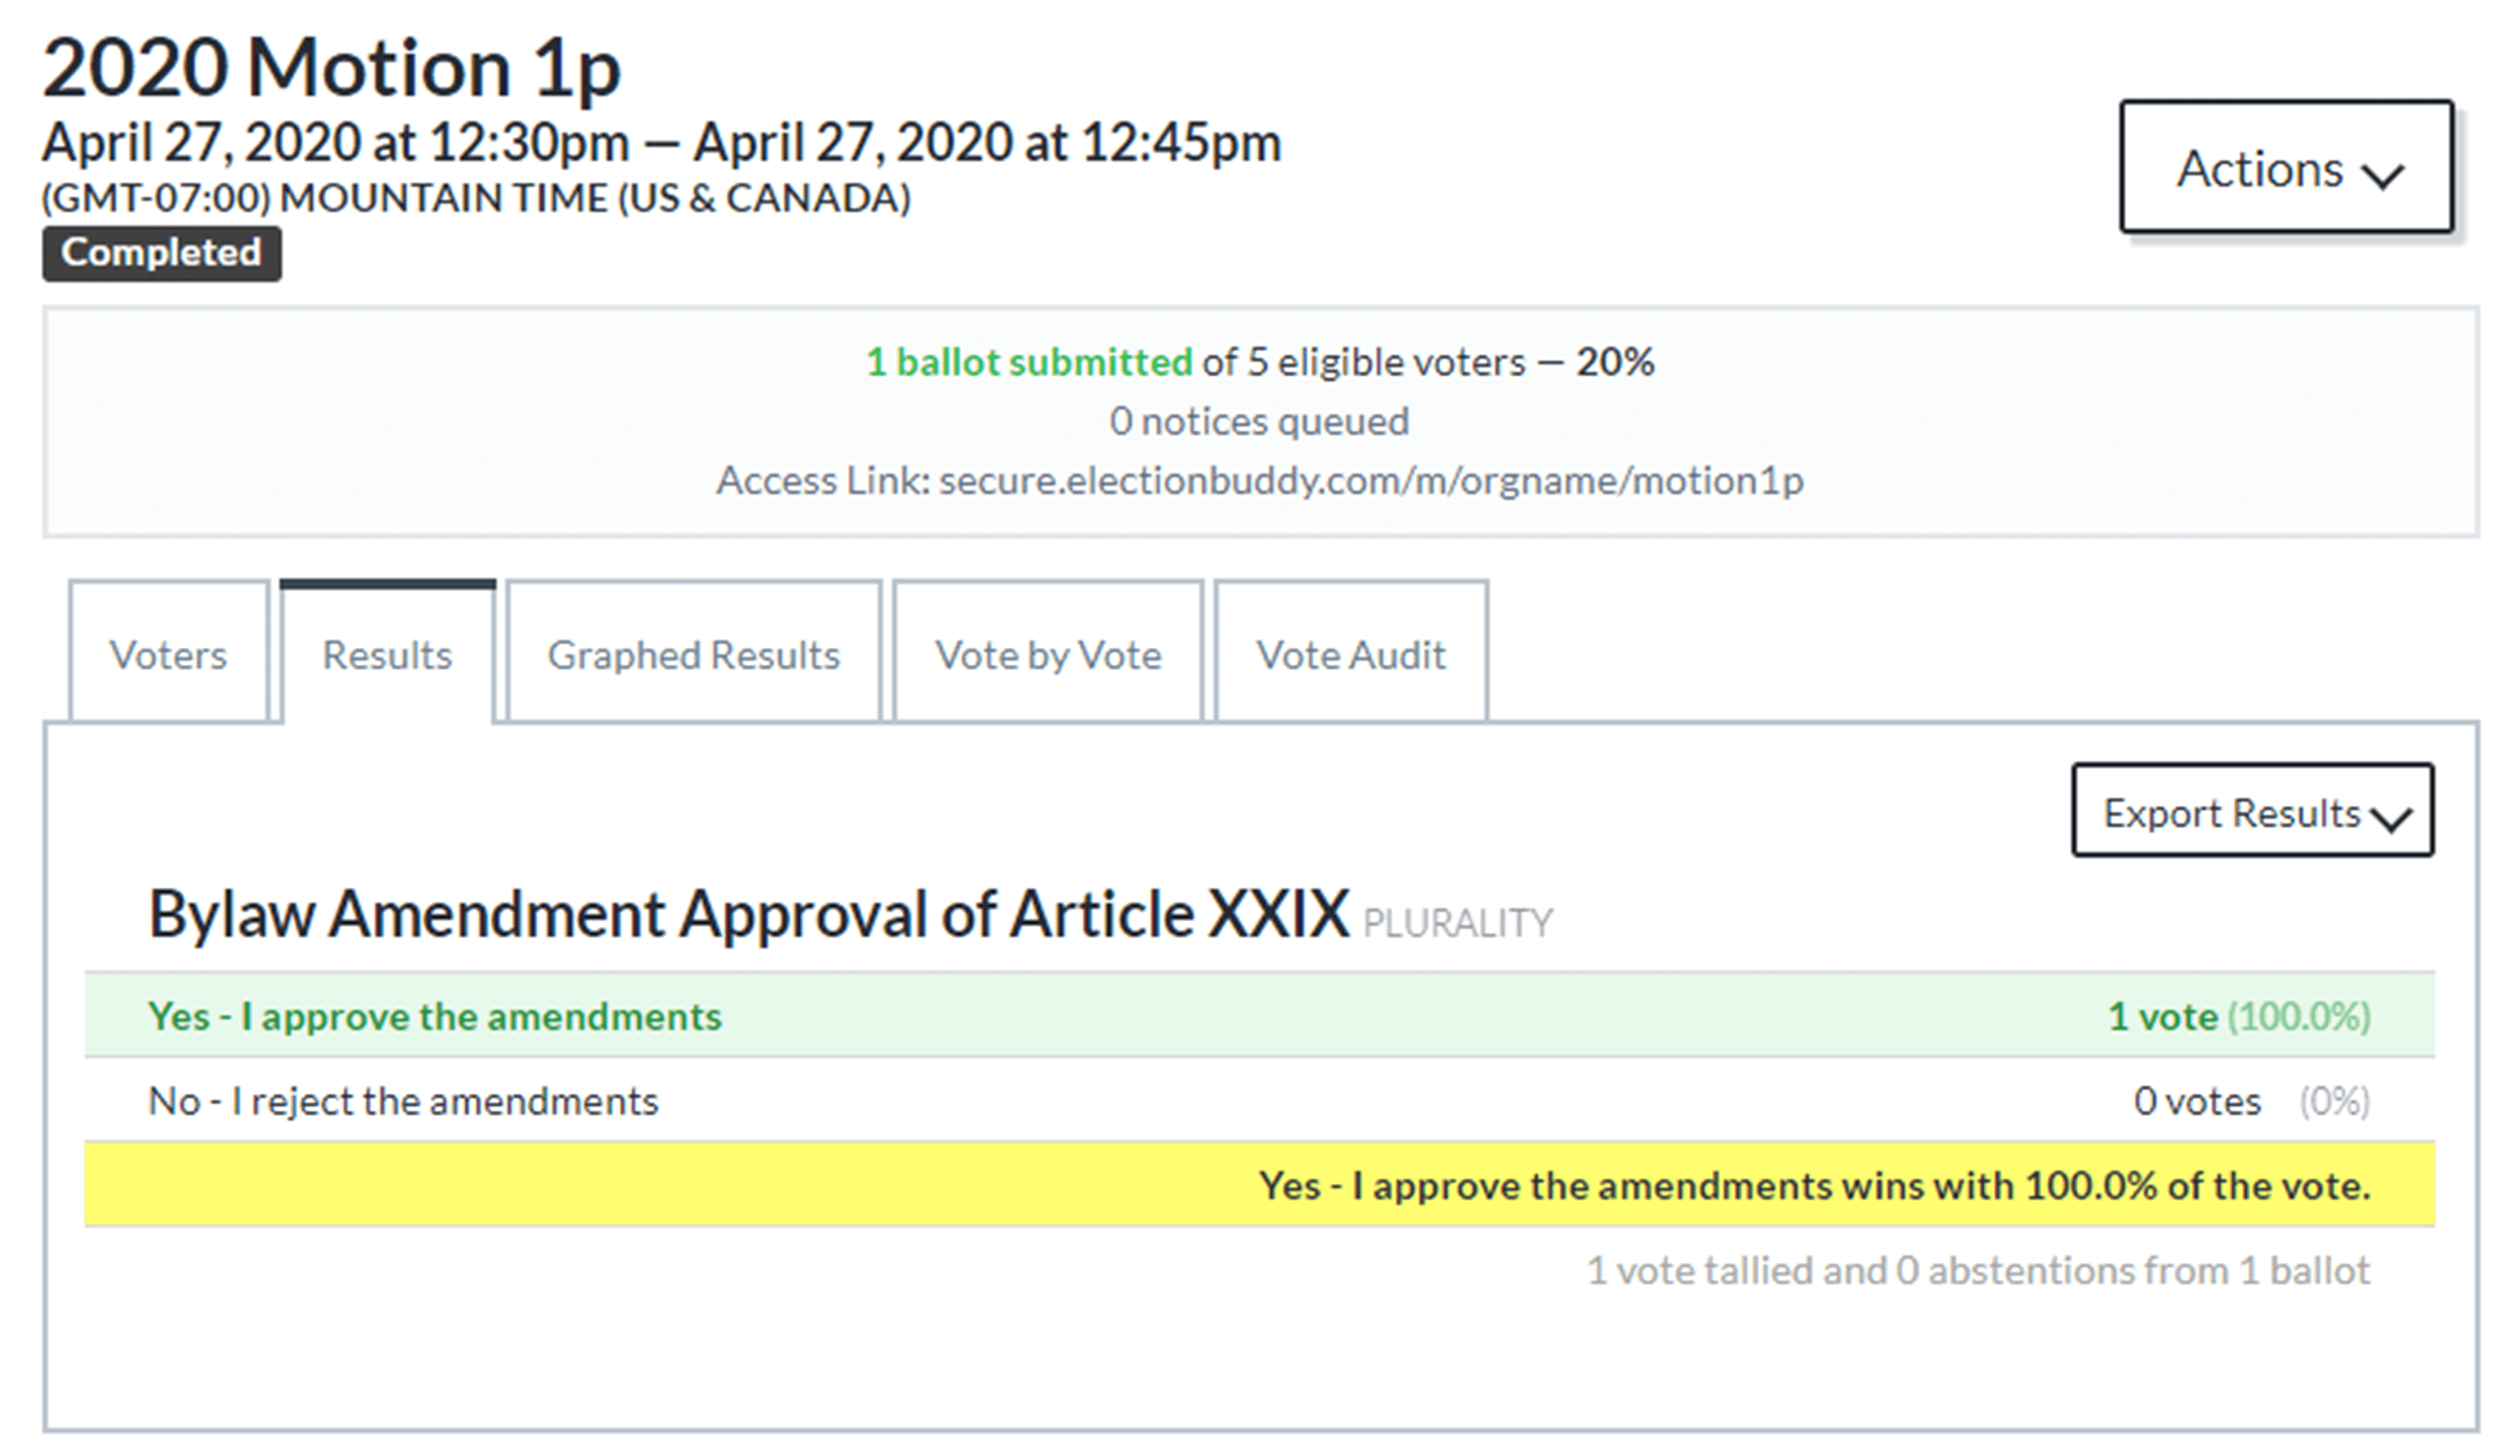
For each vote, results are immediately tabulated. Voters view the results on their device, as part of a video conference or on the meeting room TV

Screenshot of Voting Results – viewing the results, selecting the winners and sharing the results.

Step 3: Track the meeting

Multiple methods and reports

More than just yes/no votes, you can use Likert scales, cumulative, scored and ranked voting. Weighting allows votes to reflect ownership too!

Easy results

View summary or group results. Save results or delete them after sharing: you choose! View numbers and graphs or export them to your Microsoft Office or G Suite applications

Vote Audit

Voter characteristics and location are tracked and reported. Re-tally the results to allow observation while ensuring anonymity and integrity

Take Your Meeting to the Next Level

Test LiveVote Now